
TrendNet TV-IP422 Surveillance camera
We are today going to test a product that is all new to us, for testing and reviewing. However personally I have some history with these as I’ve worked behind them in the past.
The product we are going to have a look at is the TV-IP422 from TrendNet. It is a pan and tilt security camera with lots of features.
Taken from the webpage of TrendNet
"Based in Torrance, California, TRENDnet maintains branch offices in Western Europe, Eastern Europe, Central America, South America, and Asia. TRENDnet's 250-plus product portfolio is distributed in over 125 countries. The TRENDnet brand is consistently recognized for high quality, exceptional performance and professional support."
TrendNet is working mostly with networking products and some of their newest additions are the “green” products, one of them is the TEG-S80G, an 8 port gigabit unmanaged switch with reduced power consumption with as much as 70%.
This company is really looking at the future and the TV-IP422 that we are looking at is one part of it as the surveillance part grows bigger and bigger for each year.
Head over to next page to get some hands-on pictures of the security camera.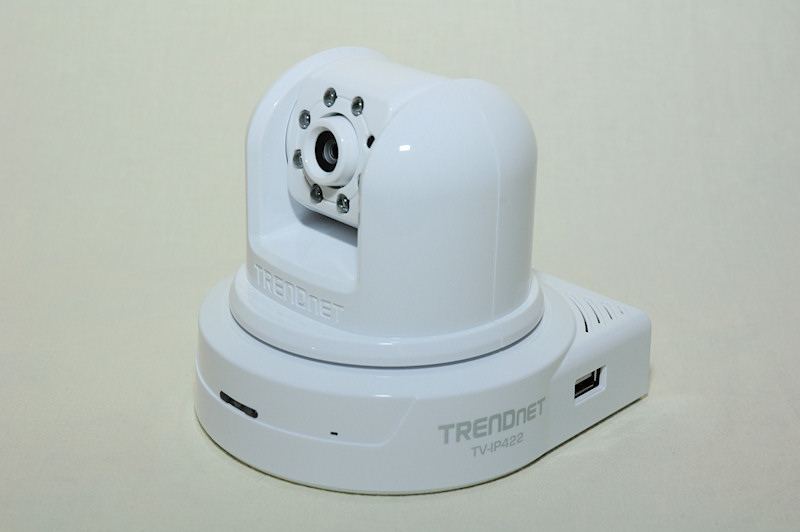

Christopher Fredriksson


![[H]ard|OCP, https://www.hardocp.com](https://www.swemod.com/uploaded/affiliates/hardocp.jpg)
![[M]adshrimps, https://www.madshrimps.be](https://www.swemod.com/uploaded/affiliates/madshrimps.jpg)