Impulse Sealer PFS300-S
Today we're posting our first Hobby article and we're starting off with a bag sealer, also known as an impulse sealer. Sounds interesting? Maybe, maybe not – let's have a look!
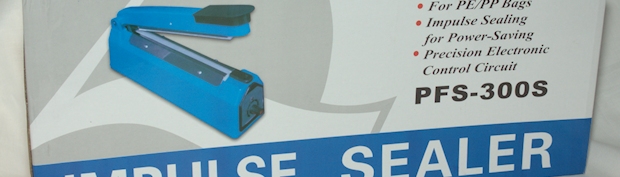
The bag sealer we're having a look at is the cheap kind from various auction and web shops on the net, the model we're testing today is the PFS-300S.
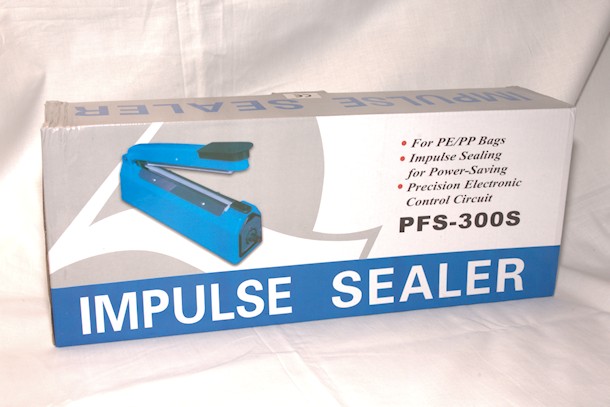
These tools can be used to seal all sort of plastic bags for all sort of uses. It is specified to deal with PE (Polyethylene) and PP (Polypropylene) plastics, but can probably be used with other sort of bags as long as you dial in the timing correctly. The "impulse" part of the sealer is made with a timer which when activated starts the heating element and keeps it on for a short time, depending on the knob on the front of the device.
So, you might still be wondering, why do we test a bag sealer? Isn't that only used in the kitchen? Well it surely is a kitchen tool, but as much as a kitchen tool it is also used for packing goods/products for other businesses as well. With a regular bag/impulse sealer you can only seal a bag, then there are vacuum sealers which do the same thing, but also extracts the air from within the bag. This one only seals however, which is perfect for the application we're going to use it for.
Other businesses might seal in products that they are selling to their customers and it doesn't have to be food. It can be all sort of products that could benefit from a little extra protection during shipping or simply to keep several smaller items together in an easy and good looking package, without using a zip-lock bag which might look a bit tacky – all depending on the business and its customers of course.
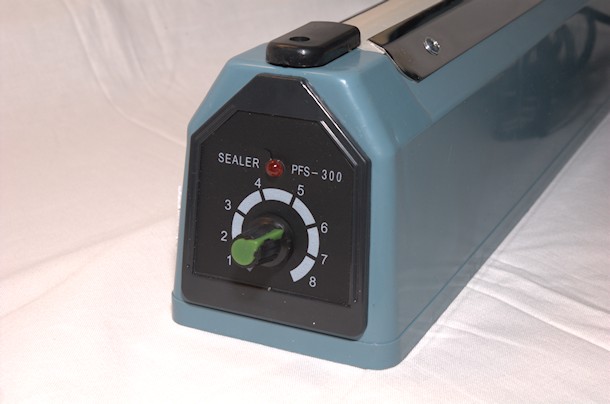

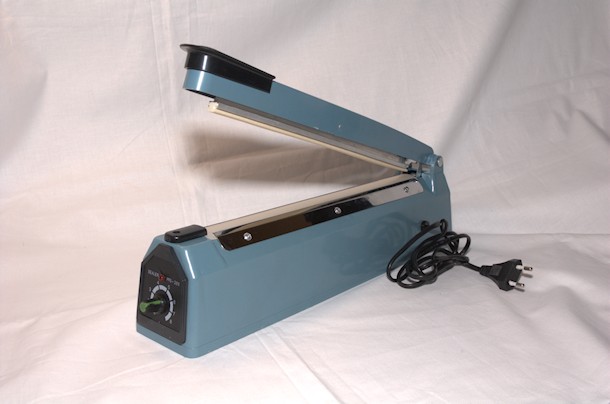
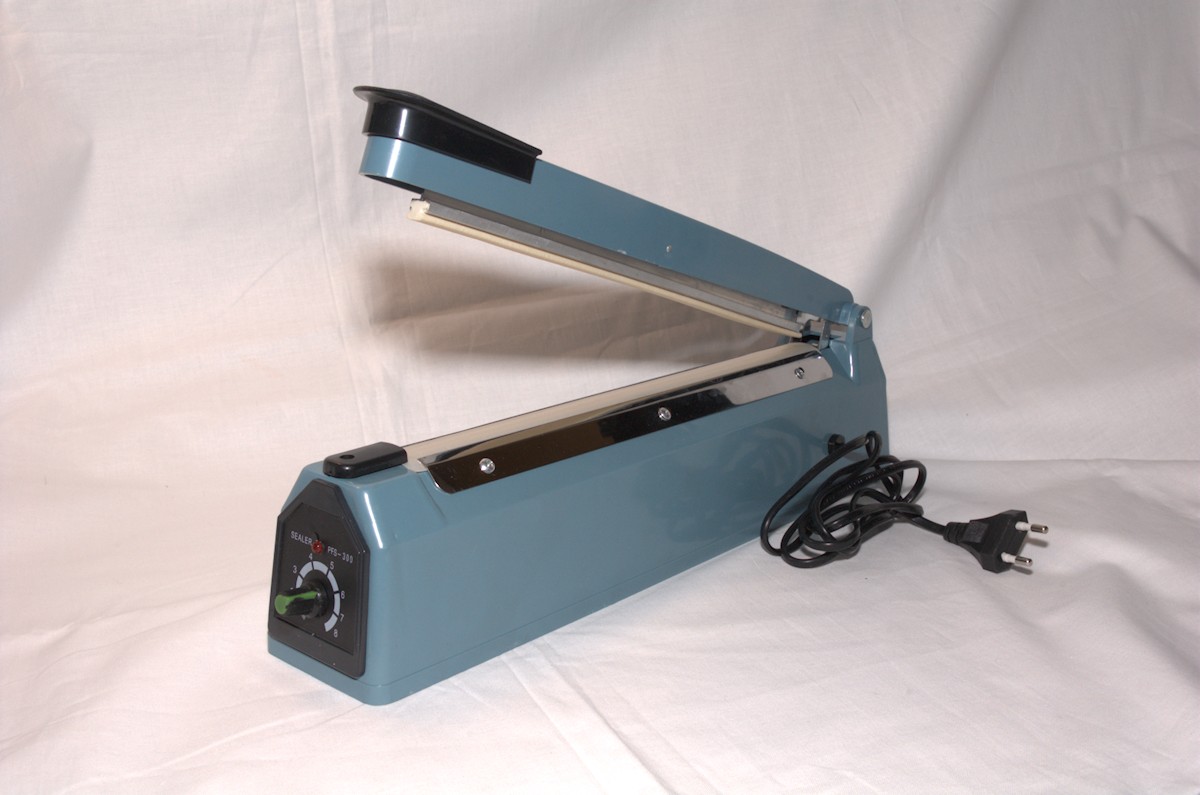
Inside the package we find the sealer itself. This model is made mostly out of plastic and it comes without a knife on the handle for cutting off bag rolls. On the front of the device we have a knob for setting the timer for the impulse sealing, the numbers turns out to not really have a meaning as the sealing time is variable roughly between half a 0.2 seconds to about one and a half second.
The sealing element is hidden under a Teflon cover, both of which are replaceable and we also get an extra set in the package. Replacing the heating element is simple with just one screw to loosen it up and then pulling out the element to replace it.
The PFS-300S is specified to draw around 450W which through the heating element melts the plastic bags and therefore seal them. The maximum bag width you can seal is 30cm or about 12 inches. The sealer should be able to seal bags with a thickness of up to 0.4mm and the final sealing width is about 3mm.
So, how do we test the product? For this we of course need some bags and bag/tube rolls. We ordered a simple vacuum bag/tube roll off the same auction site which turned out to be not a very good choice for what we're after – however, we tested it anyhow.

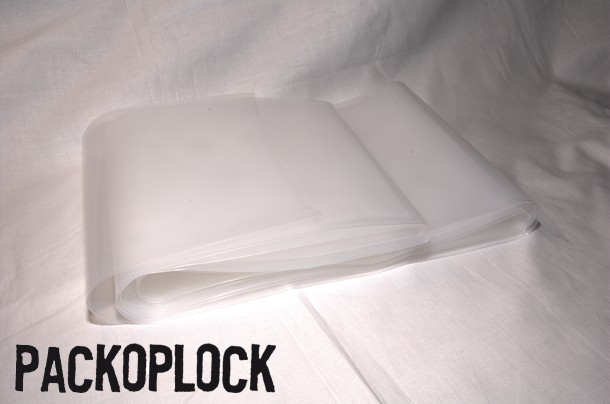
Thanks to the Swedish company Pack o Plock we were also able to test a more proper PE tube roll.
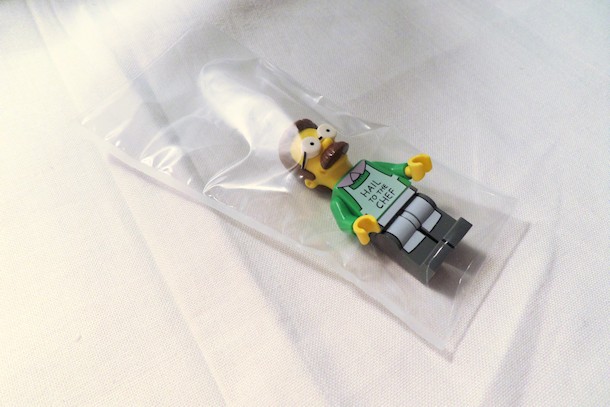
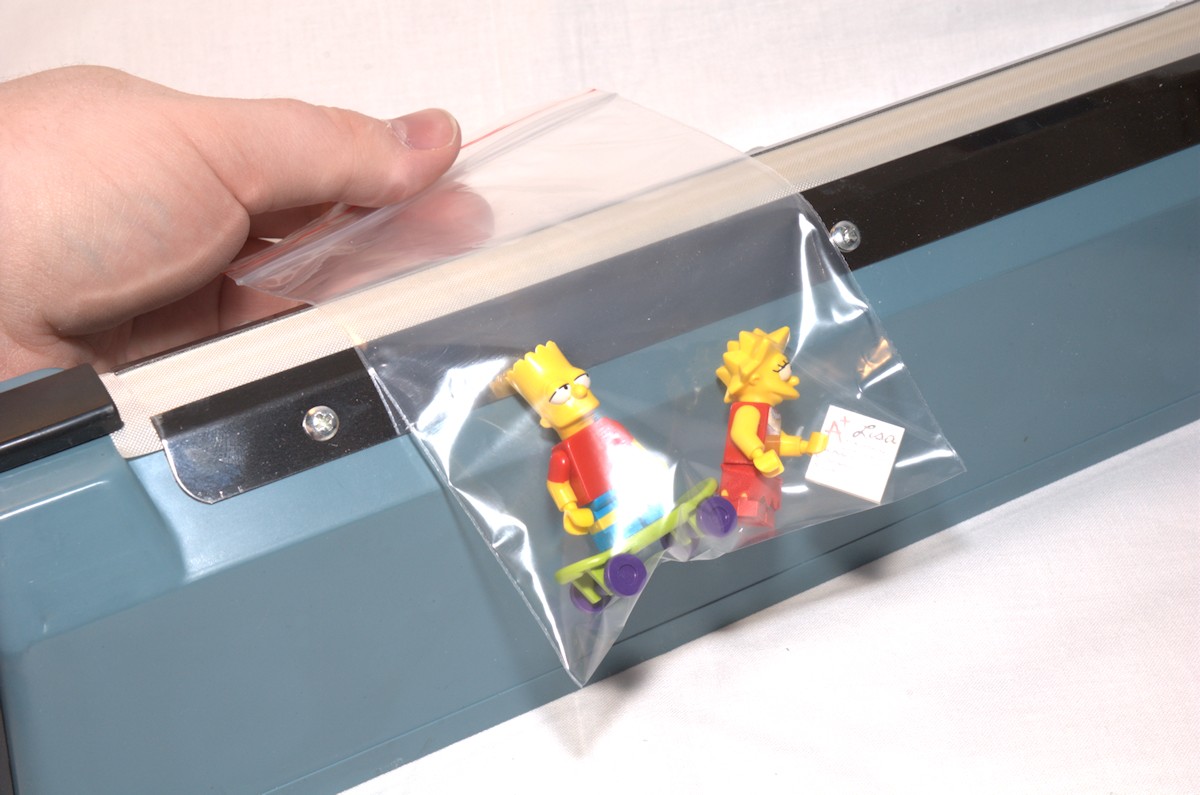
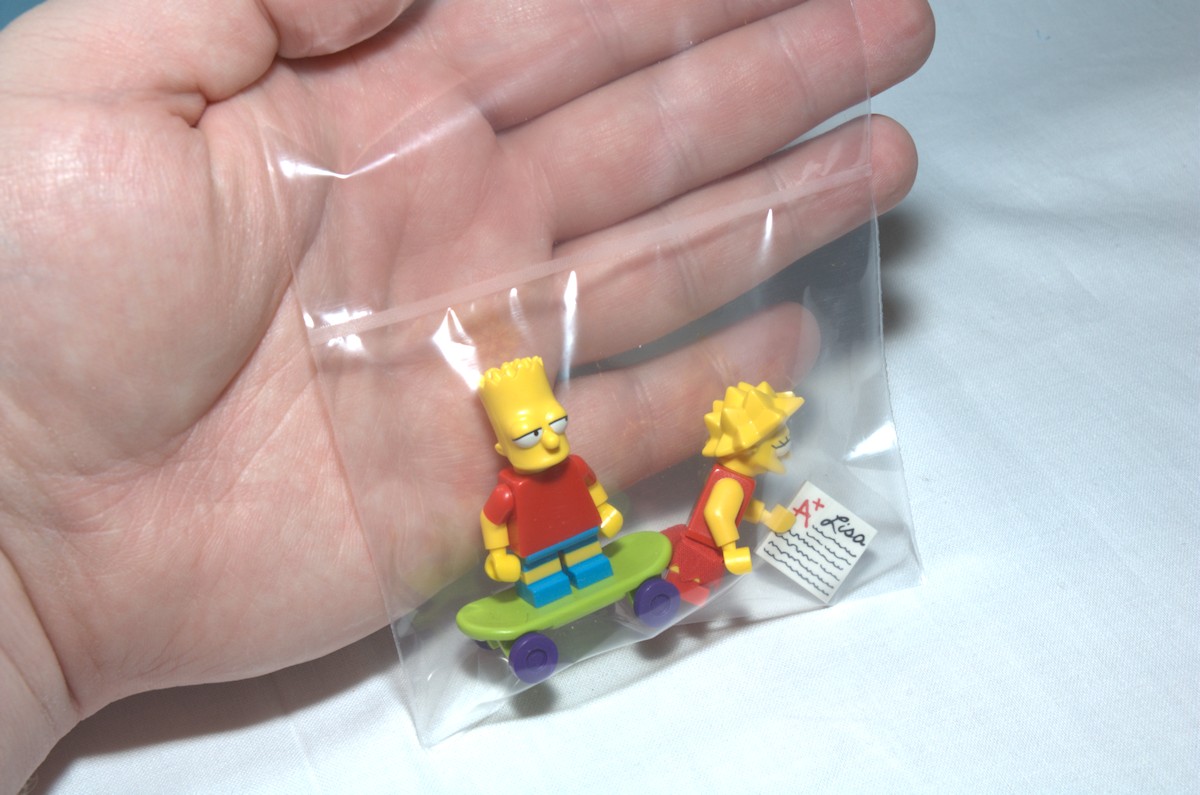
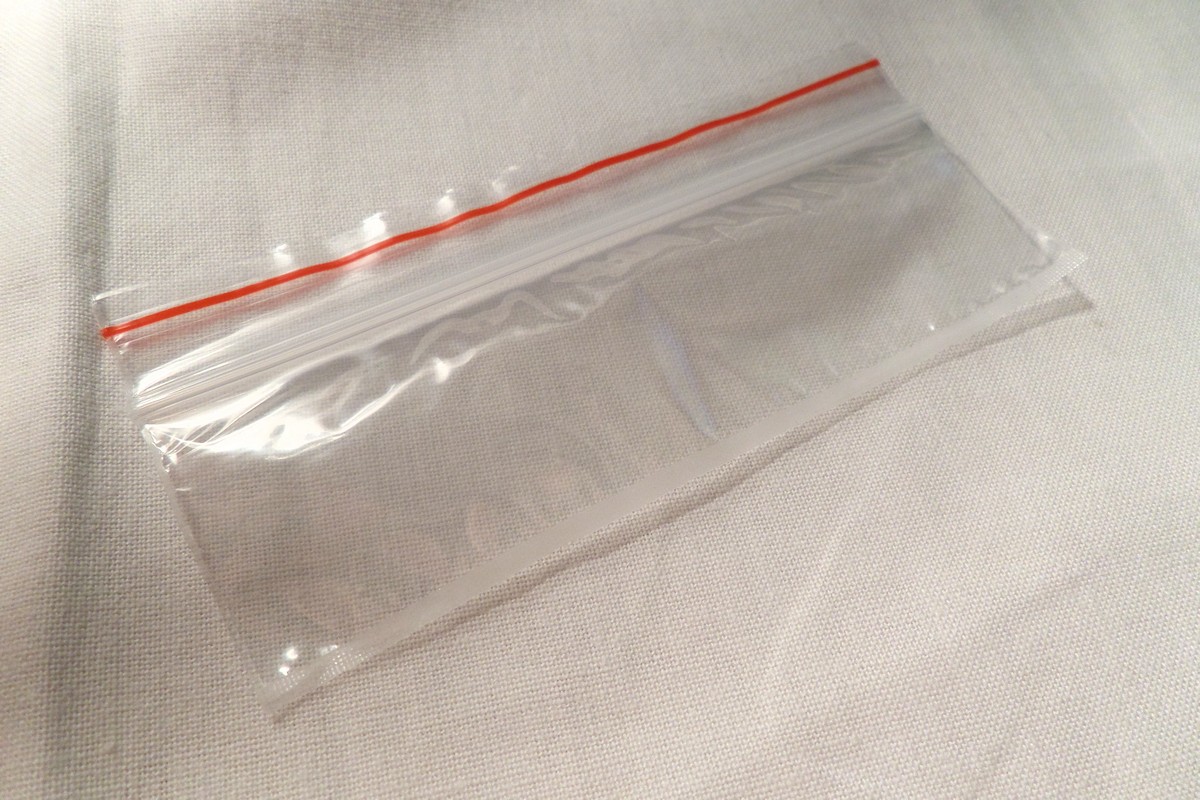
We then also tried some simple zip lock bags which are much thinner but still give a really nice result. So first off we take a look at the zip lock bags which I'm not completely sure of, but I think they are made out of Polyethylene as well. With a setting of medium on the timer, we were able to seal off a couple of bags with our favorite toys inside.
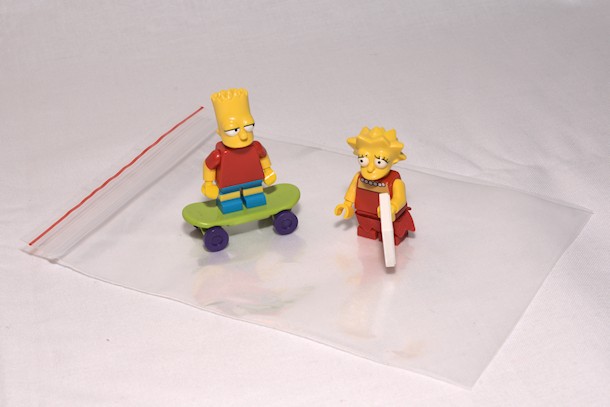

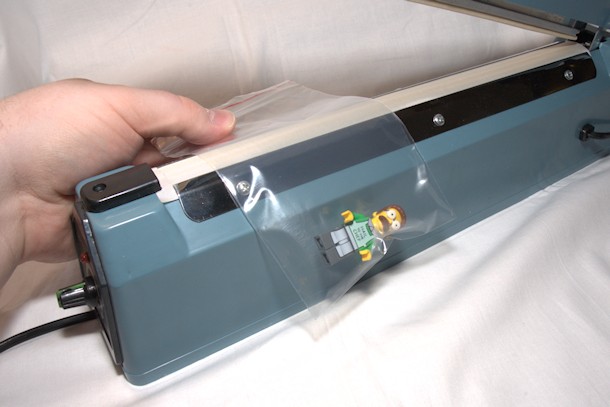
Using the impulse sealer is as simple as, keeping fingers clear, then placing the bag as flat as possible over the heating element and Teflon cover and closing the arm of the device. We must press it together quick and firmly, holding it in placing while the timer ticks on and keep holding it for a few seconds after the timer has finished. At this point we can release the arm and remove the back to find a perfect seal.
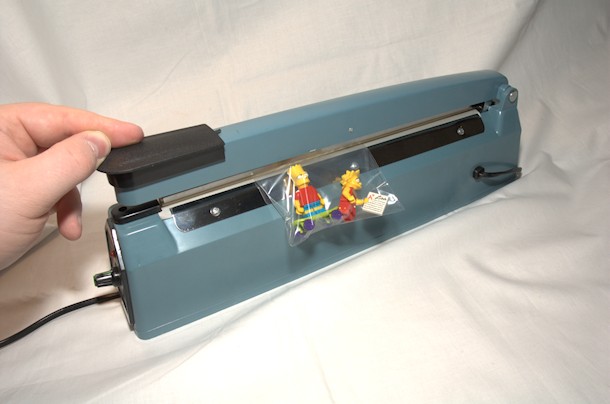

Something that I haven't really had to think about earlier is that it is very hard to take photos of clear plastic, but I think I've managed to take photos that show off the result quite ok. Just to show that the bag is completely sealed we also stuff another two toys inside the bag and obviously they aren't falling down to the first two.
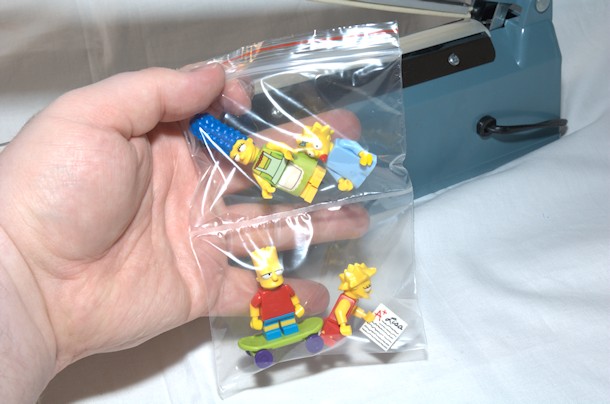
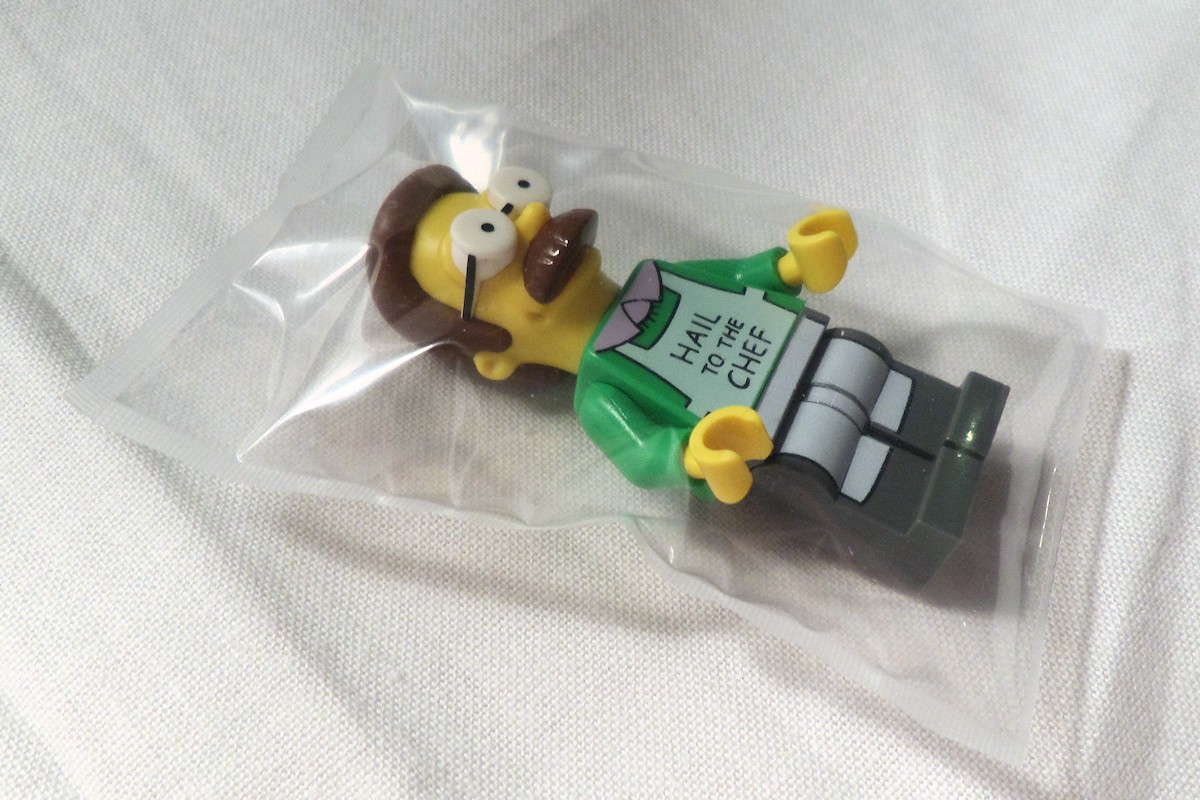
This was quite a simple and easy test, but the possibilities are endless and you can customize your bags as much as you want. Let's take the next toy and seal him in quite tightly. As you can see he gets his own private bubble bag, but if we want a neater and smaller package, just seal it again and this time even more tightly.
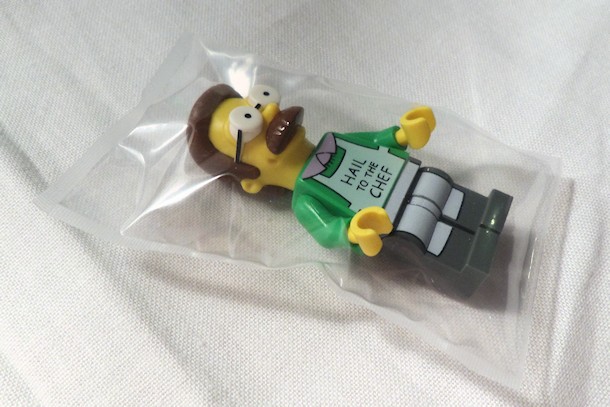
As you can see the result is quite fantastic, for me this feels like it could have come directly from the manufacturer. Sealed and protected ready for you to rip open and start playing with.
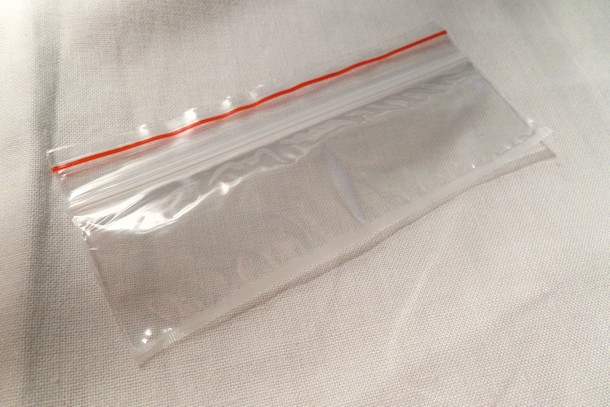
You can of course also customize the zip lock bags if you don't find a premade size that is perfect for you.
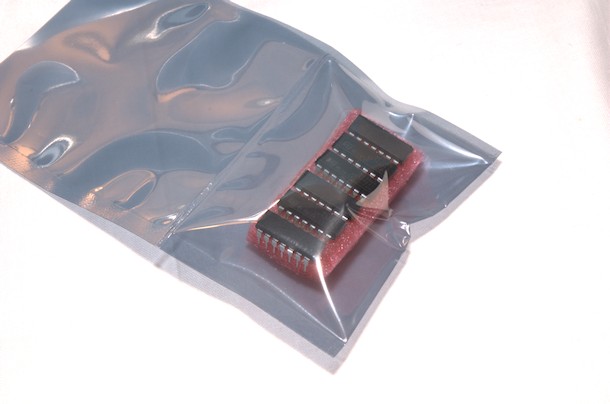
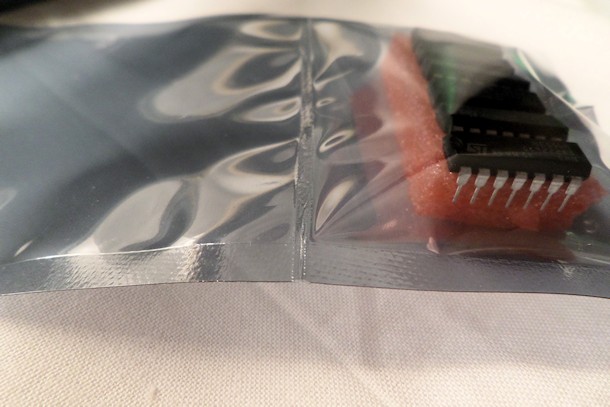
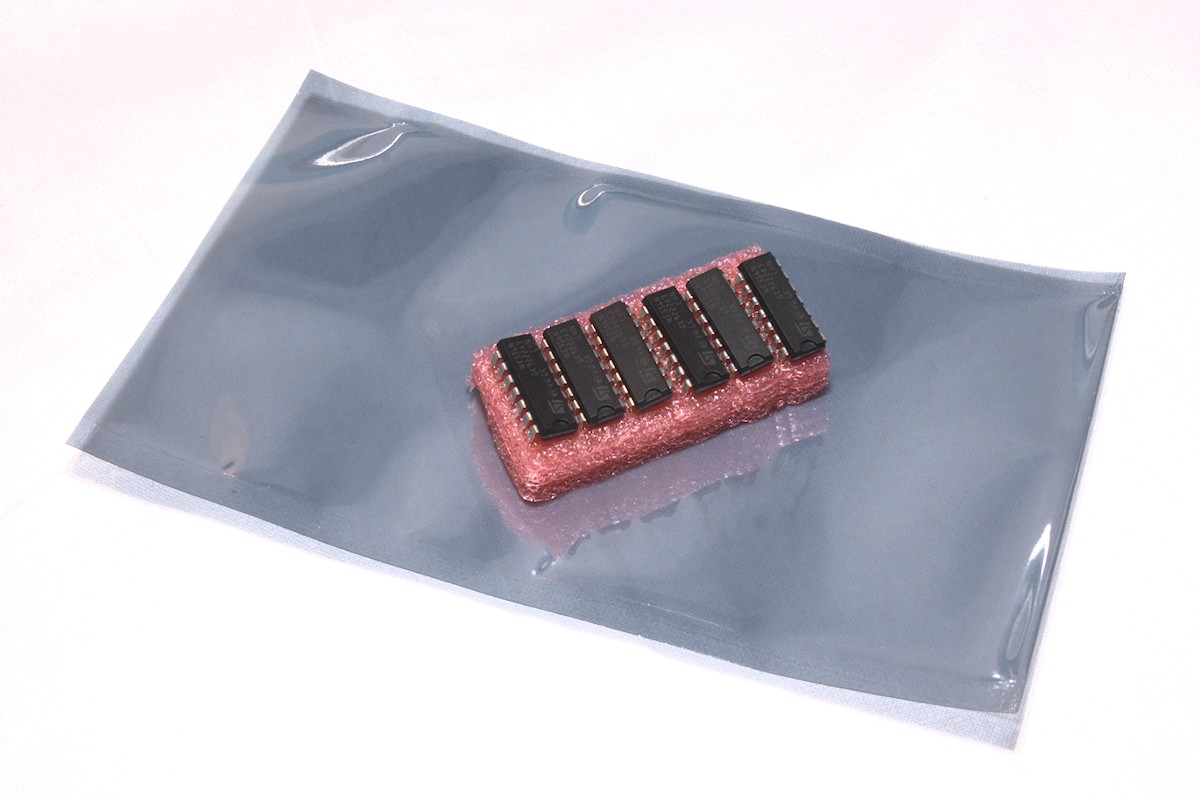
Moving on to items more relating to our site, components. They are often packed in anti-static bags and more often than not they are sealed to prevent dust from covering your newly bought product as well as protect it from electrostatic discharge which can be devastating, just by a tiny spark.
Using the same middle setting on the timer we easily seal these bags as well. These bags are made out of some sort of plastic with a conducting plastic covering the first plastic. The whole bag is conductive, so you could measure resistance and continuity straight over the bag if you'd like. But it was still no problem for the impulse sealer to seal it. When sealing components like this I would recommend either having a breathing hole or packing some silica gel inside to prevent condensation inside.

However, what is most important for our Hobby section is that we need to seal some Polyethylene tubing to a bag which will hold liquid for a future project. This future project is circuit board making which we will start with an article series during the last quarter of 2016.
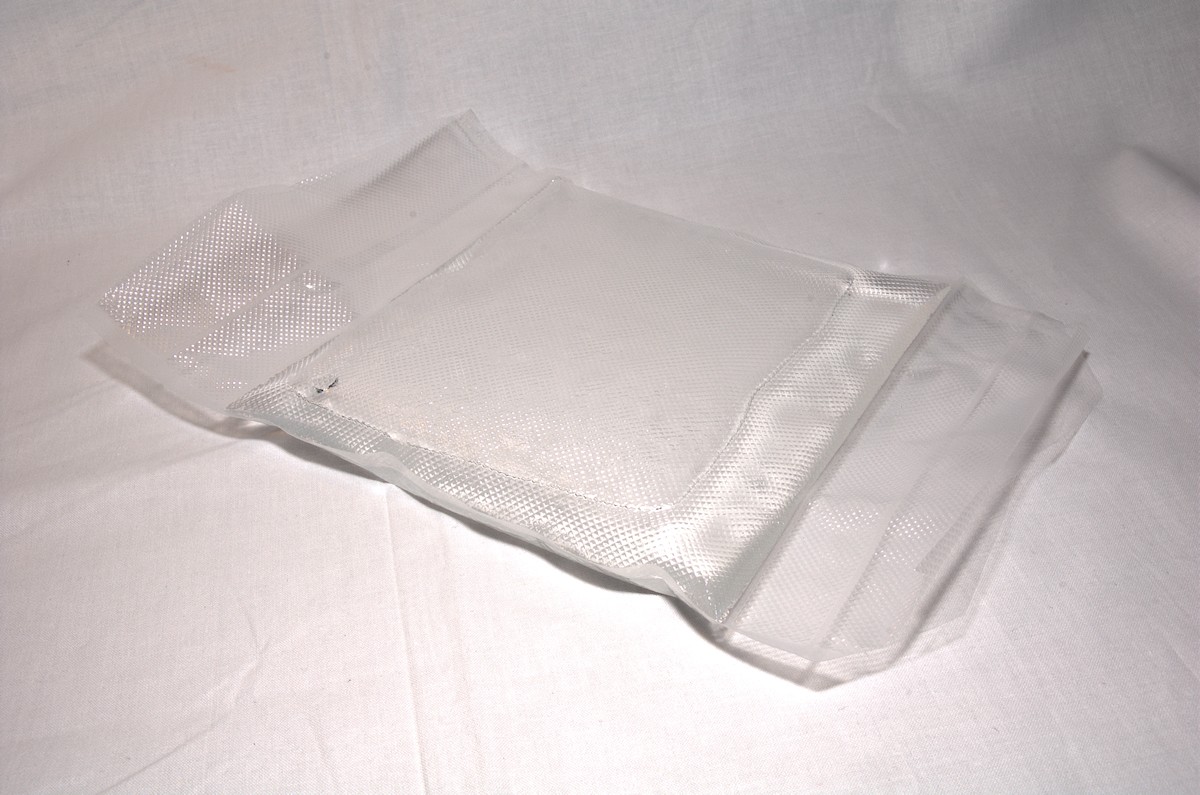
For this test we bought the cheap PE tube roll off our popular auction site. As I mentioned earlier, this was more or less a mistake as the bags we ordered was way too thin. They are also specified to be used with food and vacuum machines. The PE tube roll we bought was specified to be of 160-180 microns, which equals to 0.160 – 0.180mm thick. This was certainly not the case as the tube feels extremely thin, especially compared to the next one.
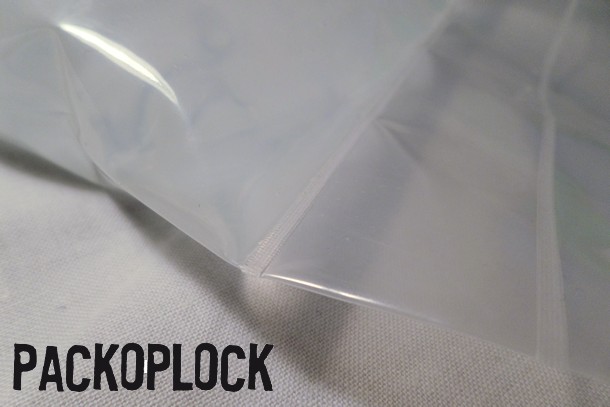
The next PE tube we tried was from Pack o Plock, the Swedish distributor for all sorts of packing material. They also sell all sort of different other products, but are mainly focusing on packing products.
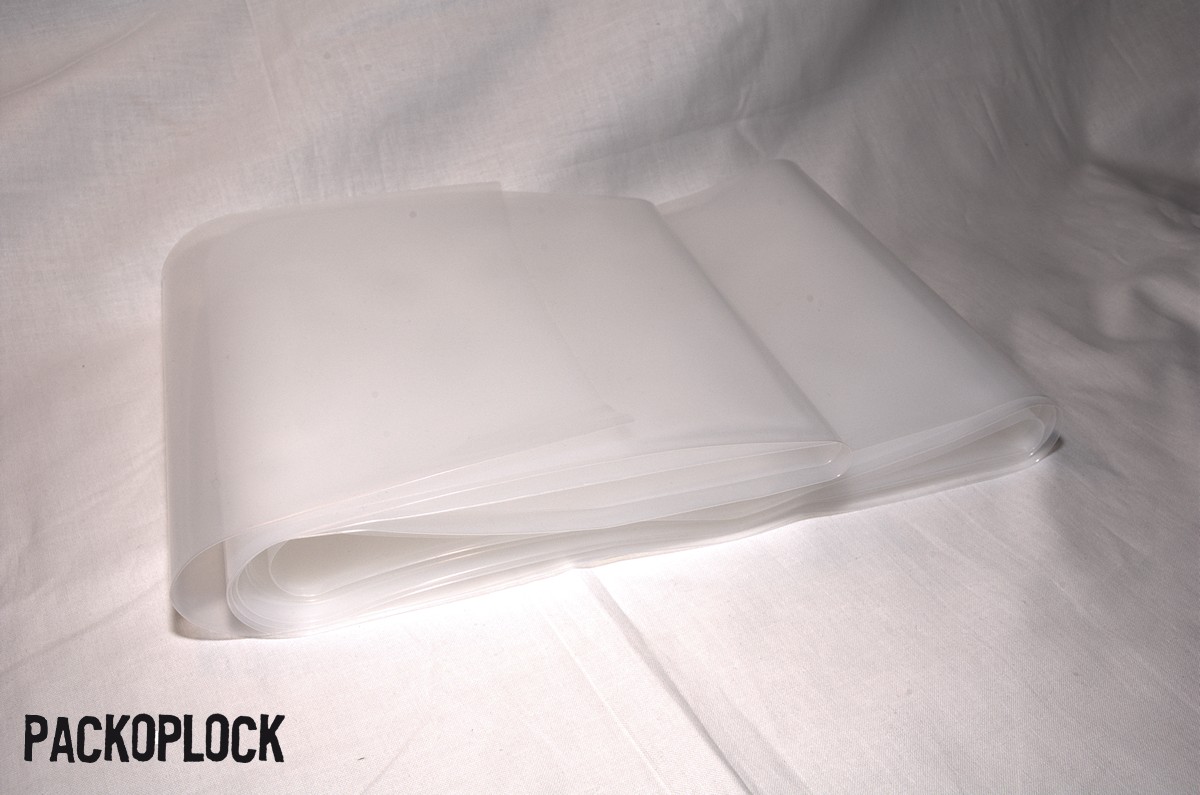
The product we got from Pack o Plock certainly feels more authentic and is specified to be a 0.200mm thick PE tube. They also have several other thicknesses available ranging from 0.045 to 0.200mm and in different colors, all depending on your needs.
Possible uses according to their site is for rolls, tubes, carpets and other long items that need some really sturdy and durable protection.
Both with the cheap roll we ordered and the proper PE tube roll from Pack o Plock, they are extremely convenient as you're only limited to its width, not the length. So if you want to pack a 10cm item one time and a 1m long item next time, no problem – as long as the items fit width-wise.
Apart from the PE tube roll we got on our test bench, they also have wider variants available.
So why are we on a search for a thick PE tube? Well the answer is; circuit board manufacturing – small scale!
Of course, if you want to create a lot and possibly very large circuit boards you can send the design off to a board manufacturer who does all the things for you and you get a finished board with all the features you want.
However, before you do that you might want to develop a few or even a single board to test before sending off to the board house, just to make sure everything works and is properly designed. For this we can make our circuit boards at home. You can even create circuit boards on a larger scale, with like 20 boards a day or so without problems at home as well. But most often we only develop a circuit board or two once or twice a week perhaps.
Most hobbyists who create their own circuit boards either store the etching solution in bottles or packages, and then when they need to etch a circuit board they pour it up into a container and start etching. This could easily be a hassle and I've found a solution to the "problem" of handling dangerous and hazardous liquids.
There is a company called Mega Electronics who has created the Seno GS / SN3300 – Etch In Bag.
This is simply a PE tube sealed off in one end with a bag sealer and then in the other end sealed with a bag clip. This is a genius way of dealing with hazardous chemicals for etching circuit boards. The only problem is, it is not available for export which means that here in Sweden, we're screwed!
They only solution is to copy-cat and create our own version. It is most probably not going to be perfect, but it is going to get close. Also, we're always going to refer to the original as we really do believe it is an awesome product.
More on this in our next article.
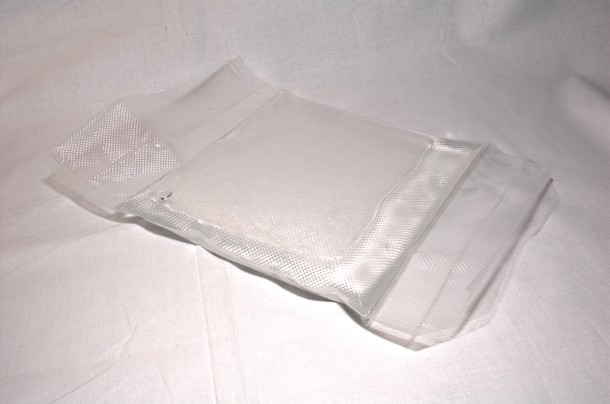
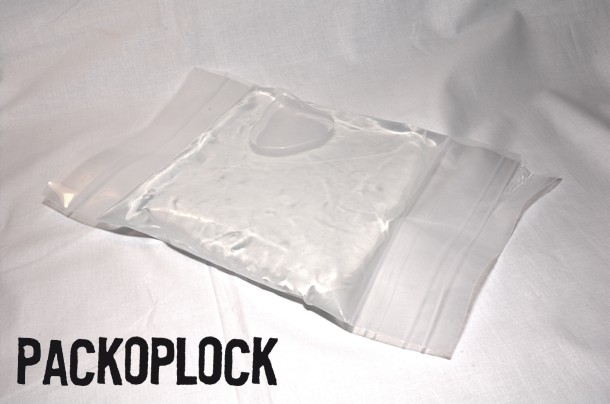
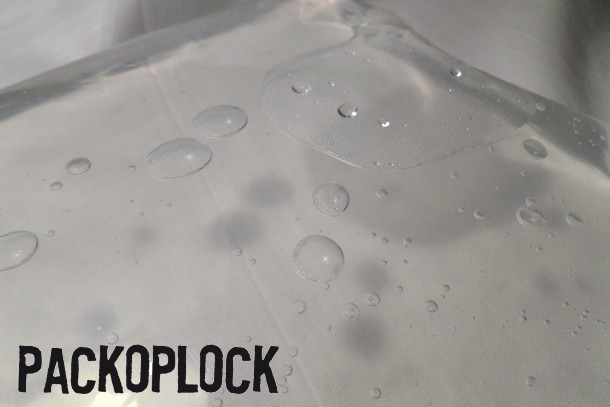
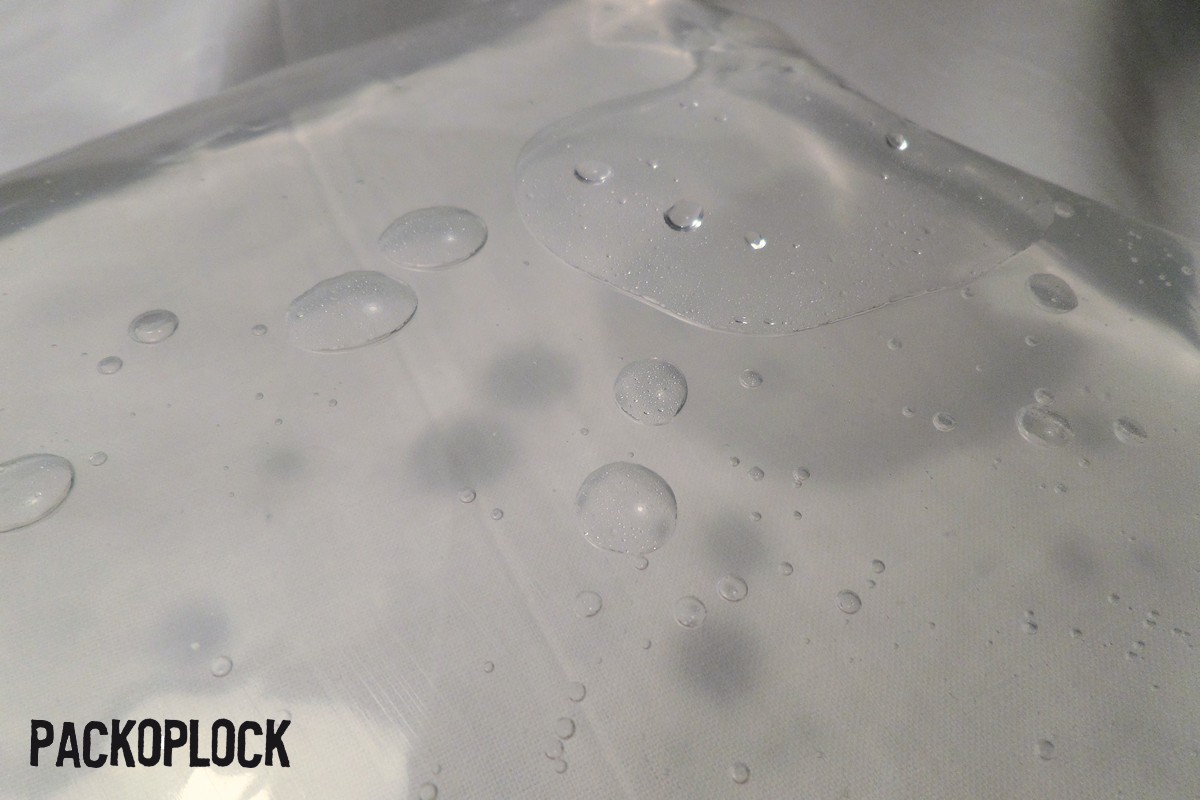
But to make sure our PE tubes can hold liquid and stay dry on the outside we surely have to test it out. So we sealed off one end on both sort of PE tubes, filled them up with water – making sure that there is no water where we want to seal the tubes! Then seal them off in the other end as well.
We had them laying for a couple of weeks with the periodical touch and bouncing to make sure they haven't leaked anything. We also made a double seal with a few centimeters in between to have a first warning if the seals started to leak through.
Again, the cheap PE tube we bought ourselves for this test was too thin. It surely holds liquids, but asking it to cope with chemicals and sharp edge circuit boards might be too much. So the PE tube from Pack o Plock surely seems to be the better alternative. In the next Hobby article we'll look more at the etching solution, if and how it works and obviously how well it works.
Finally I would like to thank Pack o Plock, the Scandinavian distributor of packing products, for helping us with the review sample of their clear 0.200mm thick PE tube.
The bag sealer we're having a look at is the cheap kind from various auction and web shops on the net, the model we're testing today is the PFS-300S.

These tools can be used to seal all sort of plastic bags for all sort of uses. It is specified to deal with PE (Polyethylene) and PP (Polypropylene) plastics, but can probably be used with other sort of bags as long as you dial in the timing correctly. The "impulse" part of the sealer is made with a timer which when activated starts the heating element and keeps it on for a short time, depending on the knob on the front of the device.
So, you might still be wondering, why do we test a bag sealer? Isn't that only used in the kitchen? Well it surely is a kitchen tool, but as much as a kitchen tool it is also used for packing goods/products for other businesses as well. With a regular bag/impulse sealer you can only seal a bag, then there are vacuum sealers which do the same thing, but also extracts the air from within the bag. This one only seals however, which is perfect for the application we're going to use it for.
Other businesses might seal in products that they are selling to their customers and it doesn't have to be food. It can be all sort of products that could benefit from a little extra protection during shipping or simply to keep several smaller items together in an easy and good looking package, without using a zip-lock bag which might look a bit tacky – all depending on the business and its customers of course.


Inside the package we find the sealer itself. This model is made mostly out of plastic and it comes without a knife on the handle for cutting off bag rolls. On the front of the device we have a knob for setting the timer for the impulse sealing, the numbers turns out to not really have a meaning as the sealing time is variable roughly between half a 0.2 seconds to about one and a half second.
The sealing element is hidden under a Teflon cover, both of which are replaceable and we also get an extra set in the package. Replacing the heating element is simple with just one screw to loosen it up and then pulling out the element to replace it.
The PFS-300S is specified to draw around 450W which through the heating element melts the plastic bags and therefore seal them. The maximum bag width you can seal is 30cm or about 12 inches. The sealer should be able to seal bags with a thickness of up to 0.4mm and the final sealing width is about 3mm.
So, how do we test the product? For this we of course need some bags and bag/tube rolls. We ordered a simple vacuum bag/tube roll off the same auction site which turned out to be not a very good choice for what we're after – however, we tested it anyhow.
Thanks to the Swedish company Pack o Plock we were also able to test a more proper PE tube roll.
We then also tried some simple zip lock bags which are much thinner but still give a really nice result. So first off we take a look at the zip lock bags which I'm not completely sure of, but I think they are made out of Polyethylene as well. With a setting of medium on the timer, we were able to seal off a couple of bags with our favorite toys inside.

Using the impulse sealer is as simple as, keeping fingers clear, then placing the bag as flat as possible over the heating element and Teflon cover and closing the arm of the device. We must press it together quick and firmly, holding it in placing while the timer ticks on and keep holding it for a few seconds after the timer has finished. At this point we can release the arm and remove the back to find a perfect seal.

Something that I haven't really had to think about earlier is that it is very hard to take photos of clear plastic, but I think I've managed to take photos that show off the result quite ok. Just to show that the bag is completely sealed we also stuff another two toys inside the bag and obviously they aren't falling down to the first two.

This was quite a simple and easy test, but the possibilities are endless and you can customize your bags as much as you want. Let's take the next toy and seal him in quite tightly. As you can see he gets his own private bubble bag, but if we want a neater and smaller package, just seal it again and this time even more tightly.


As you can see the result is quite fantastic, for me this feels like it could have come directly from the manufacturer. Sealed and protected ready for you to rip open and start playing with.
You can of course also customize the zip lock bags if you don't find a premade size that is perfect for you.
Moving on to items more relating to our site, components. They are often packed in anti-static bags and more often than not they are sealed to prevent dust from covering your newly bought product as well as protect it from electrostatic discharge which can be devastating, just by a tiny spark.
Using the same middle setting on the timer we easily seal these bags as well. These bags are made out of some sort of plastic with a conducting plastic covering the first plastic. The whole bag is conductive, so you could measure resistance and continuity straight over the bag if you'd like. But it was still no problem for the impulse sealer to seal it. When sealing components like this I would recommend either having a breathing hole or packing some silica gel inside to prevent condensation inside.


However, what is most important for our Hobby section is that we need to seal some Polyethylene tubing to a bag which will hold liquid for a future project. This future project is circuit board making which we will start with an article series during the last quarter of 2016.
For this test we bought the cheap PE tube roll off our popular auction site. As I mentioned earlier, this was more or less a mistake as the bags we ordered was way too thin. They are also specified to be used with food and vacuum machines. The PE tube roll we bought was specified to be of 160-180 microns, which equals to 0.160 – 0.180mm thick. This was certainly not the case as the tube feels extremely thin, especially compared to the next one.
The next PE tube we tried was from Pack o Plock, the Swedish distributor for all sorts of packing material. They also sell all sort of different other products, but are mainly focusing on packing products.
The product we got from Pack o Plock certainly feels more authentic and is specified to be a 0.200mm thick PE tube. They also have several other thicknesses available ranging from 0.045 to 0.200mm and in different colors, all depending on your needs.
Possible uses according to their site is for rolls, tubes, carpets and other long items that need some really sturdy and durable protection.
Both with the cheap roll we ordered and the proper PE tube roll from Pack o Plock, they are extremely convenient as you're only limited to its width, not the length. So if you want to pack a 10cm item one time and a 1m long item next time, no problem – as long as the items fit width-wise.
Apart from the PE tube roll we got on our test bench, they also have wider variants available.
So why are we on a search for a thick PE tube? Well the answer is; circuit board manufacturing – small scale!
Of course, if you want to create a lot and possibly very large circuit boards you can send the design off to a board manufacturer who does all the things for you and you get a finished board with all the features you want.
However, before you do that you might want to develop a few or even a single board to test before sending off to the board house, just to make sure everything works and is properly designed. For this we can make our circuit boards at home. You can even create circuit boards on a larger scale, with like 20 boards a day or so without problems at home as well. But most often we only develop a circuit board or two once or twice a week perhaps.
Most hobbyists who create their own circuit boards either store the etching solution in bottles or packages, and then when they need to etch a circuit board they pour it up into a container and start etching. This could easily be a hassle and I've found a solution to the "problem" of handling dangerous and hazardous liquids.
There is a company called Mega Electronics who has created the Seno GS / SN3300 – Etch In Bag.
This is simply a PE tube sealed off in one end with a bag sealer and then in the other end sealed with a bag clip. This is a genius way of dealing with hazardous chemicals for etching circuit boards. The only problem is, it is not available for export which means that here in Sweden, we're screwed!
They only solution is to copy-cat and create our own version. It is most probably not going to be perfect, but it is going to get close. Also, we're always going to refer to the original as we really do believe it is an awesome product.
More on this in our next article.
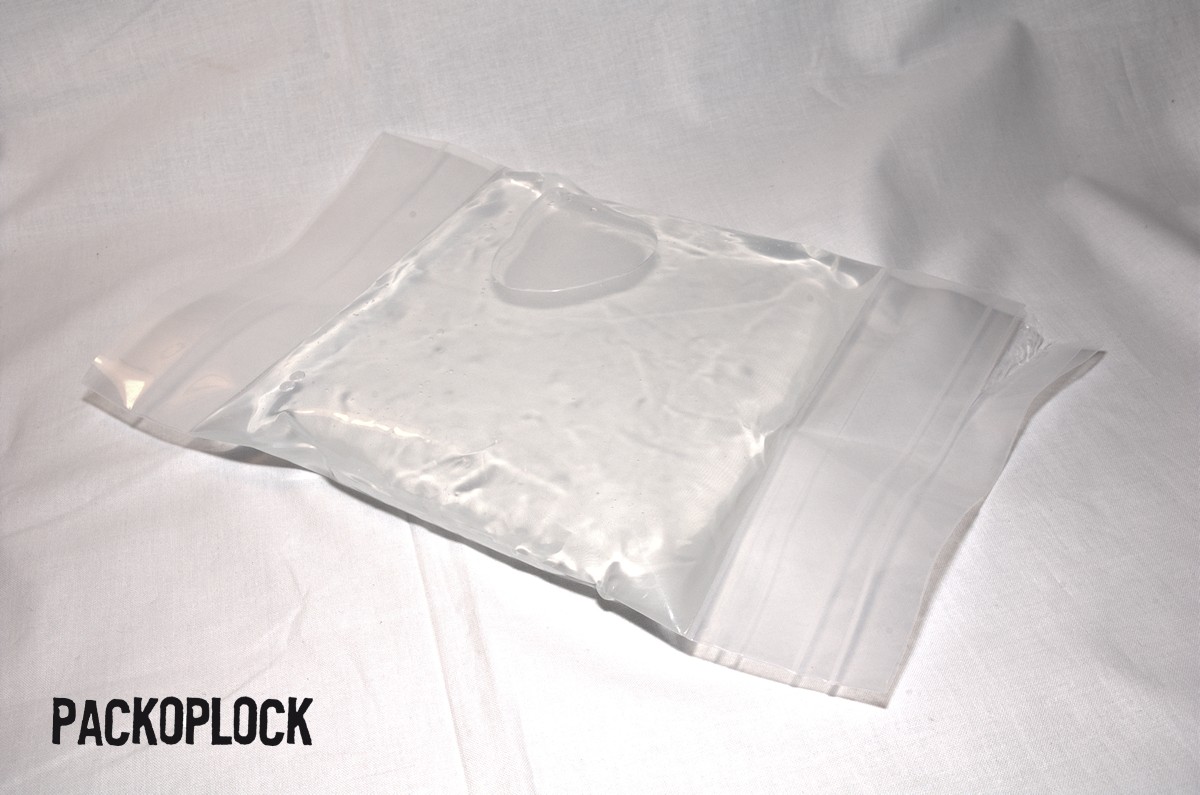
But to make sure our PE tubes can hold liquid and stay dry on the outside we surely have to test it out. So we sealed off one end on both sort of PE tubes, filled them up with water – making sure that there is no water where we want to seal the tubes! Then seal them off in the other end as well.
We had them laying for a couple of weeks with the periodical touch and bouncing to make sure they haven't leaked anything. We also made a double seal with a few centimeters in between to have a first warning if the seals started to leak through.

Again, the cheap PE tube we bought ourselves for this test was too thin. It surely holds liquids, but asking it to cope with chemicals and sharp edge circuit boards might be too much. So the PE tube from Pack o Plock surely seems to be the better alternative. In the next Hobby article we'll look more at the etching solution, if and how it works and obviously how well it works.
Finally I would like to thank Pack o Plock, the Scandinavian distributor of packing products, for helping us with the review sample of their clear 0.200mm thick PE tube.
Navigation
- 1. Impulse sealer PFS300-S
Product partners